How to Make a DIY Hanging Pocket Organizer with Pockets
Is your brain slowly decaying at the age of 28? Well, don’t worry, it’s okay. When you can’t find your car keys or purse, you just need to develop a new habit. I know, an excellent one. For example, spruce up your existing bedroom, home office, craft room, or sewing station.
Why not try a DIY project that is both incredibly functional and aesthetically pleasing? I’m going to share with you how to make a DIY hanging pocket organizer that’s perfect for beginners just building their sewing skills.
Even if you don’t consider yourself a Pinterest-worthy mom, you’ll love this sewing project not just for its ability to store all of your stuff, but also because it’s so darn cute!
Table of Contents
Things Needed to Make This Easy DIY Pocket Organizer
- Sewing Machine: The cornerstone of your project. Make sure it’s all set up and ready to go.
- 110/18 Sewing Machine Needle: This specific needle size is great for handling heavier fabrics like canvas.
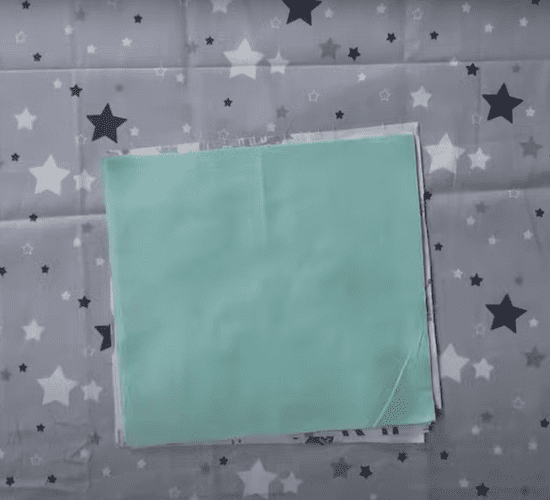
- Base Fabric: 1 piece of 21 x 23-inch canvas (52 cm x 57 cm) or another heavy fabric. This will be the foundation of your project.
- Pocket Fabric: 6 pieces of 10 x 9-inch heavy fabric (25 cm x 22 cm) or clear vinyl. These will be transformed into pockets.
- Straight Pins: Essential for keeping your fabric pieces in place before you start sewing.
- Sharp Scissors: To cut your fabric precisely and neatly.
- Tape Measure: For accurate measuring of your fabric pieces.
- Ribbon Cloth: 4-inch cloth strips. For making the hanging loops of the pocket organizer.
Sounds like you’ve got a fantastic sewing project ahead! Have fun and enjoy the creative process! 🧵
Making DIY Hanging Pocket Organizer Tutorial
STEP 1:
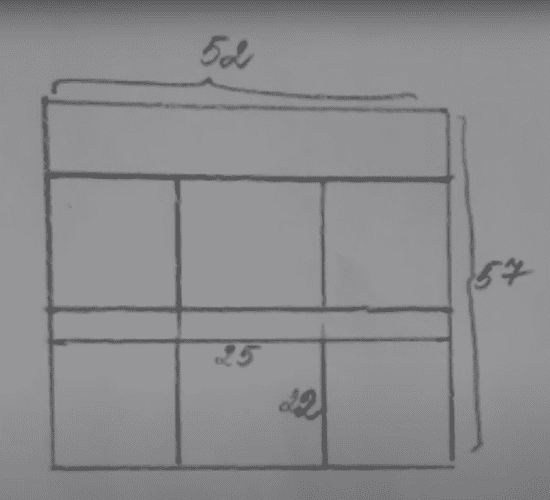
Draw the project outline.
Mark the rough measurements of your pocket organizer on a piece of paper/cloth. In my case, I’m going to be using a 52 x 57 cm heavy fabric as a base.
And for the pockets, I’ll cut six cloth pieces of 25×22 cm. The extra length of cloth will help us attach these pieces and also sew them to our base fabric (grey).
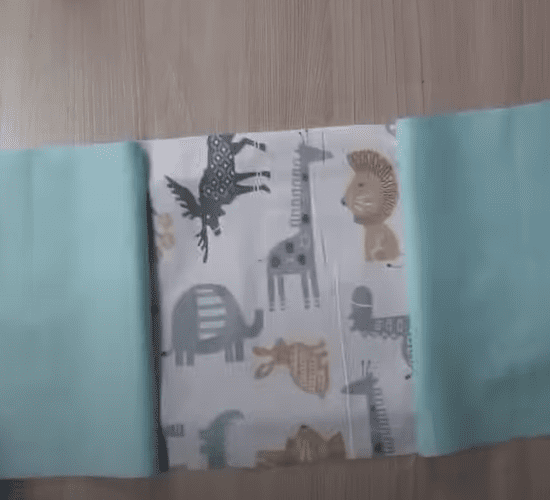
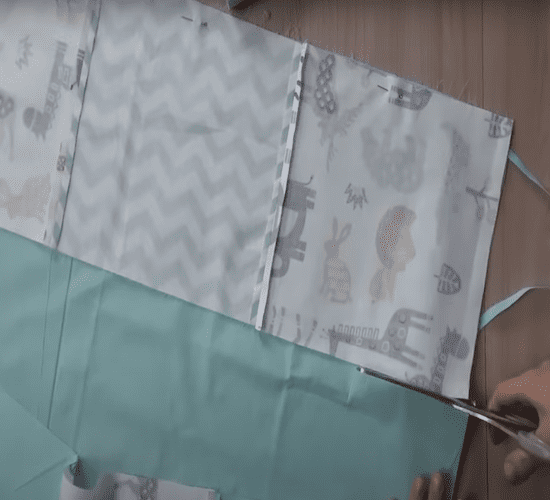
STEP 2:
Put three pieces of your pockets side by side and hold them using straight pins under the fabric.
To do so, press under 1 inch and then press and pin under another inch on the sides of the DIY hanging organizer pockets. Sew the folds in place, removing the pins as you sew and back stitching on both ends.
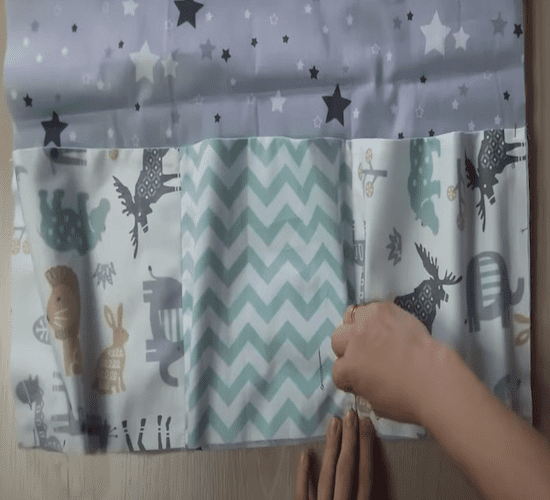
STEP 3:
To attach the pockets to the hanging wall organizer, first use pins to hold it against the pocket organizer.
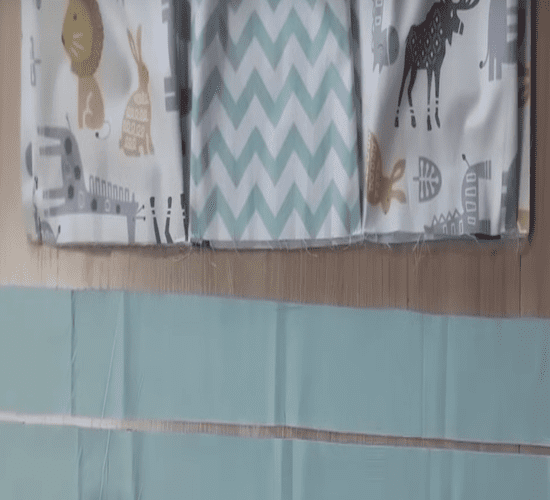
Once again, press under 3/4 inch and then press and pin under another inch on the bottom of the DIY hanging organizer base fabric. Sew the folds in place, removing the pins as you sew and back stitching on both ends.
Using 2-inch ribbons of the same fabric, sew the base of the pocket organizer.
STEP 4:
To create hanging loops, use 4-inch ribbons of the same fabric. Hold them against the pocket organizer using pins at both the front and the back. And sew them, carefully removing the pins.
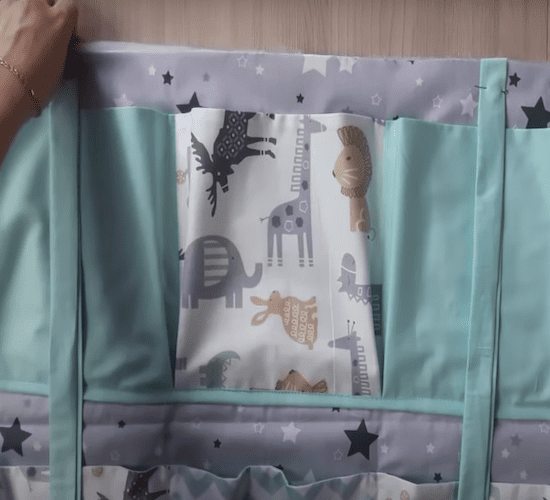
Ta-da!
There you have it. Your very own pocket organizer is ready. Hang it at any place in your house that could use some organization.
Popular Article: How to Fold Bedsheets
Remember, DIYing isn’t necessarily about just saving money. It adds countless personal touches to your home. And makes you feel proud of your creations every time you pass them.

Wrapping Up Our Pocket Storage DIY Project
This multi-functional pocket organizer not only provides the convenience of storage, but it can be used to enhance the decor of your gorgeous home. Through saving space, it also added a lot of our personality and told a bit of a story about our style and the way we care about our space becoming both beautiful and useful.
It is also just kind of nice to have a place for the little things, those everyday items you want to be able to say, “I put it right here yesterday,” or “I know I saw it on the dining table.”
The less scramble of a morning or forgotten, misplaced items throughout the day. It’s the little things that make life smoother, right?