How to Keep a Bathroom Sink (and the Whole Bathroom) Clean
Having six young kids and only one bathroom might sound like a recipe for a constant mess, but believe it or not, our bathroom sink (and the whole bathroom in general) is almost always spotless. And no, I’m not a clean freak or Super-Mom – I’ve just found a system that works wonders for us.
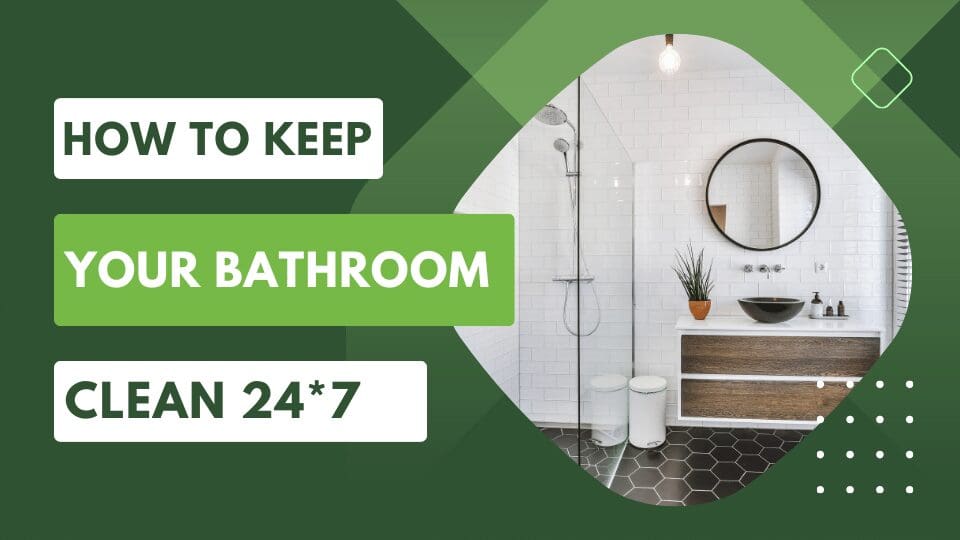
Table of Contents
How to Have an Always Clean Bathroom and Bathroom Sink
Effortless Daily Clean-Ups
Every morning, while I’m getting myself and the troops ready for the day, I sneak in a quick swipe at the bathroom. It’s nothing fancy – just a brisk once-over to keep things in check. And you know, whenever I catch a glimpse of a mess during the day, I just deal with it right then and there. Honestly, it’s just a few minutes here and there, but it makes such a difference. Keeps the chaos somewhat at bay!
Strategic Storage for Cleaning Supplies
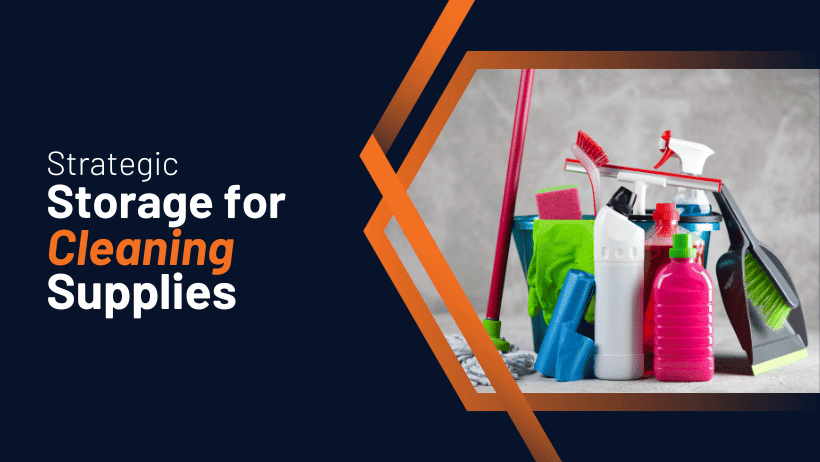
I recently started keeping my cleaning supplies right inside the bathroom sink cabinet. I’ve got a bag dispenser for rags and a simple drawer pull to hang my bottle of homemade bathroom cleaner (a mix of about two parts vinegar to one part dish soap). This way, when I encounter toothpaste splatters or other small messes, it’s a breeze to clean up on the spot. No fuss, no feeling overwhelmed.
Kid-Friendly Cleaning
The cleaner is so safe that I can even get the kids involved in tidying up their messes. Well, theoretically, at least – if I remind them enough!
Routine Deep Cleans
Of course, the bathroom does need a more thorough cleaning occasionally. That’s when I tackle the lighting fixtures, dust the baseboards, and give everything a deeper scrub. But with my daily and as-needed clean-ups, these deeper cleans are more about detail work since the basics are always under control.
Recommended Reading:
How to Clean a Bathroom Sink: Step-by-Step Instructions
Let’s dive into my own simple yet effective method to clean your sink.
Step 1: Gather Your Supplies
- Non-abrasive scrubber
- Homemade bathroom cleaner (mix of vinegar and dish soap) or your preferred commercial cleaner
- Baking soda
- Microfiber cloth or any cleaning rag
- Bag dispenser for storing rags (optional)
Step 2: Clear the Area
Remove any personal items, toiletries, or clutter from around the sink. This helps in cleaning every nook and cranny without hindrances.
Step 3: Apply the Cleaner
Generously sprinkle baking soda into the sink if using a homemade cleaner. Follow this by pouring vinegar over the soda, creating a fizzing reaction that helps lift dirt and grime.
Alternatively, spray your commercial cleaner evenly across the sink surface.
Step 4: Scrub Away and Rinse
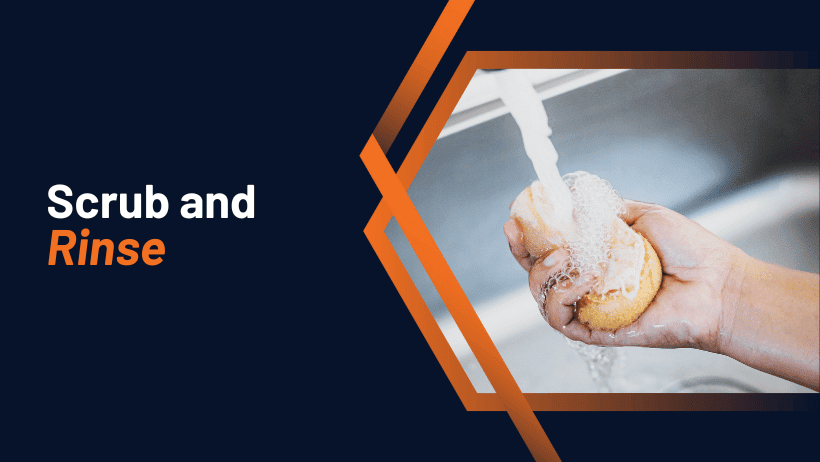
Grab that gentle scrubber and give the whole sink a good once-over. I always give a little extra love around the drain and faucet – you wouldn’t believe the gunk that likes to hang out there. Then, give it a good rinse with warm water.
Step 5: Wipe and Dry
And here’s the satisfying part – grab a microfiber cloth (or just any old rag, really) and give the sink a good wipe. It’s like erasing all the day’s mess and ending up with a sink that’s shiny enough to make you smile. Trust me, it’s oddly gratifying!
Step 6: Tackle the Faucet
Apply the cleaner to the faucet and handle(s). Wipe them down with the cloth, ensuring you remove water spots and fingerprints for a sparkling look.
Step 7: Quick Daily Maintenance
In our house, keeping the bathroom clean is all about sneaking in quick fixes. Every time I’m in there, I do a lightning-fast scan. Toothpaste marks in the sink? A few swipes and they’re history. It’s all about tackling messes before they get a chance to build up. Simple and stress-free!
Step 8: Clean the Bathroom Mirror

And let’s not forget the mirror – a foggy mirror can dull the shine of a clean bathroom. My go-to trick? A spritz of glass cleaner or my DIY mix (half vinegar, half water) and a swipe with a microfiber cloth or some newspaper. It’s like giving your mirror a mini-makeover, and suddenly, the whole room sparkles a bit more.
Step 9: Restock Supplies
After cleaning, ensure you replace any used rags and replenish your cleaner if necessary. Keeping your supplies handy inside the bathroom sink cabinet makes this process effortless.
Additional Tips for an Always Clean Bathroom

- Minimize Clutter: Keep only daily-use items in the bathroom. Store other personal items in labeled bins in a linen closet or bedroom.
- Cleaning Order: Start spraying from the dirtiest areas (like the toilet) to the cleanest. But when wiping down, reverse the order to maintain hygiene.
- Color-Coded Rags: Use differently colored rags for the bathroom to avoid mixing them up with kitchen ones. This also helps when sorting laundry.
Now, if only I could come up with a system for an always clean kitchen.
Wrapping Up Our Clean Bathroom Journey
In our lively home, this easy-going approach has been a lifesaver. It’s not about aiming for 24/7 perfection; it’s about making a routine that’s actually doable, something that doesn’t pile on to our daily stress.
It’s kept our home feeling more serene without making cleaning feel like a huge chore. So, remember, it’s totally fine if things aren’t pristine all the time – what’s important is finding that balance that brings a little calm and order to your family’s everyday life. Thank you for visiting Imperfect Homemaking. Here’s to finding your perfect-in-its-imperfection system! 🏡🧼