How to Create Your Own Cash Envelope System Wallet [DIY]
A good friend of mine has made a New Year’s resolution to make a budget and conquer debt using the Dave Ramsey Envelope System. Basically, you create categories for your spending, such as groceries, gas, clothing, and entertainment, and then spend from the appropriate envelope. When it’s gone, it’s gone. It’s a good system.
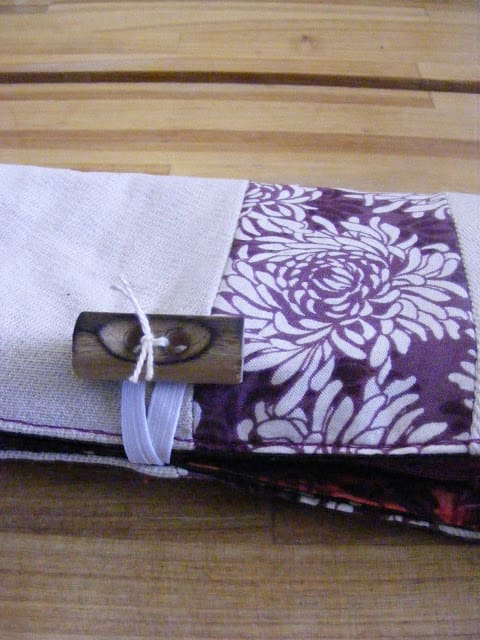
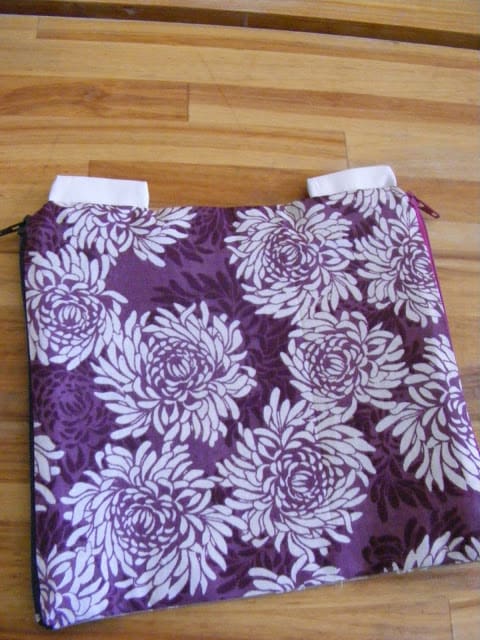
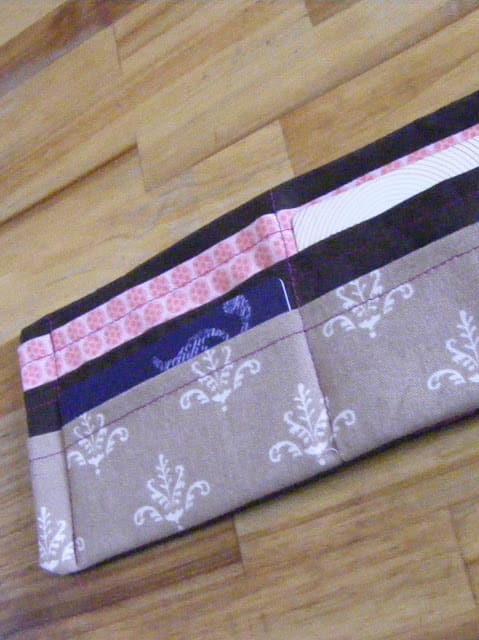
I decided to sew her a pretty little wallet with pockets for each category so that she wouldn’t have to carry a stack of white paper envelopes around in her purse.
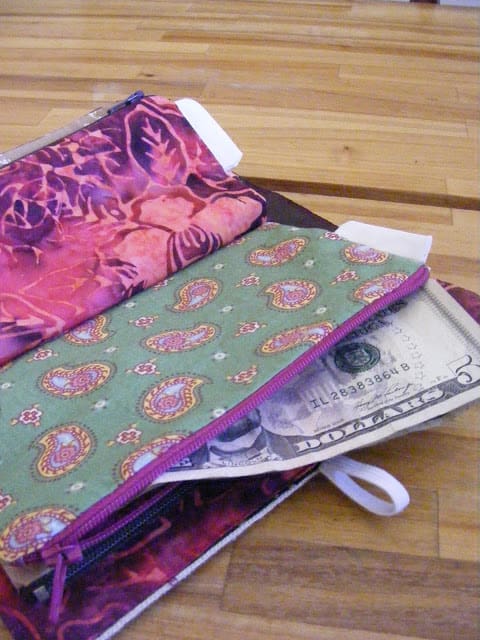
It has six zippered pouches so that she can designate an envelope for each budget category, fill it with the appropriate amount of cash on payday, and spend accordingly.
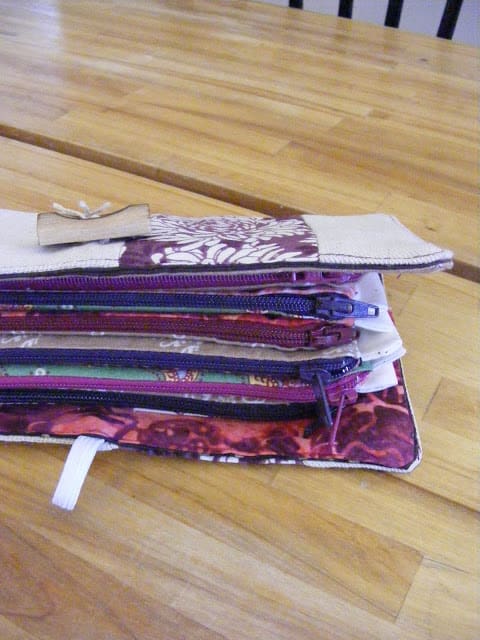
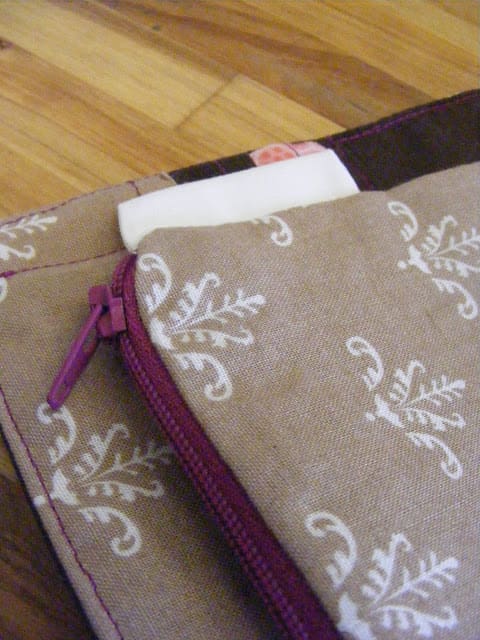
Each pouch has a tab at the top that she can write on to label each category.
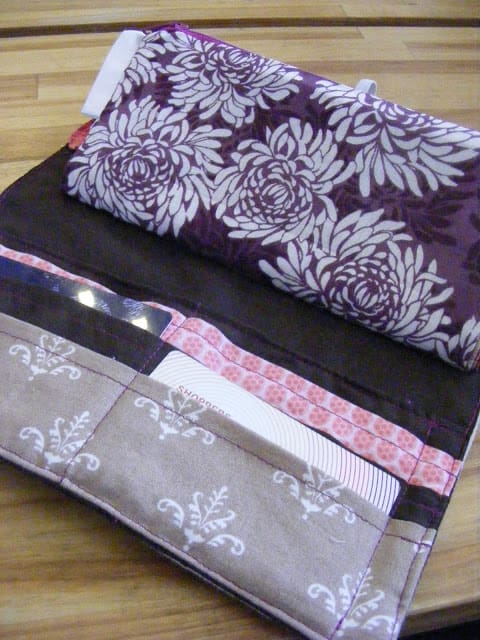
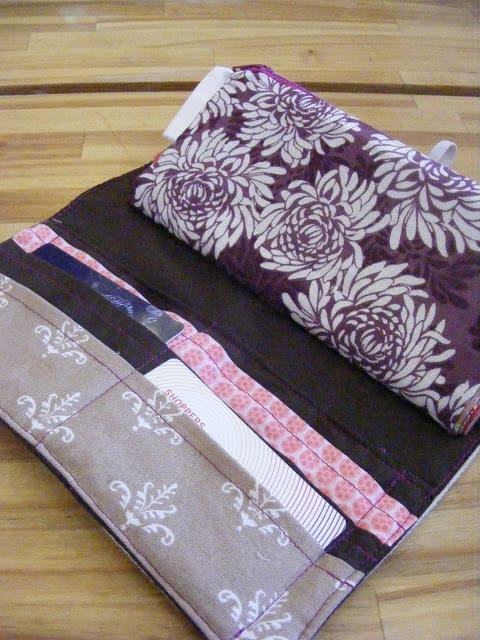
And it has card slots at the back for debit cards and whatnot.
How to Create Your a Cash Envelope System Wallet
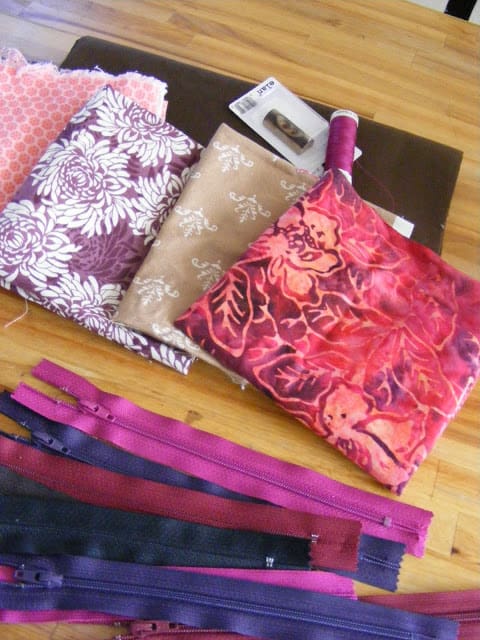
To make one you will need some fabric scraps and thread, a button, a small piece of thin elastic for the closure, and 6 seven-inch zippers.
Recommended Articles:
- How to Craft Hooded Car Seat Blankets
- How to Transforming Old Crayons into Crafts
- How to Make Simple Thanksgiving Cards
The zippered envelopes
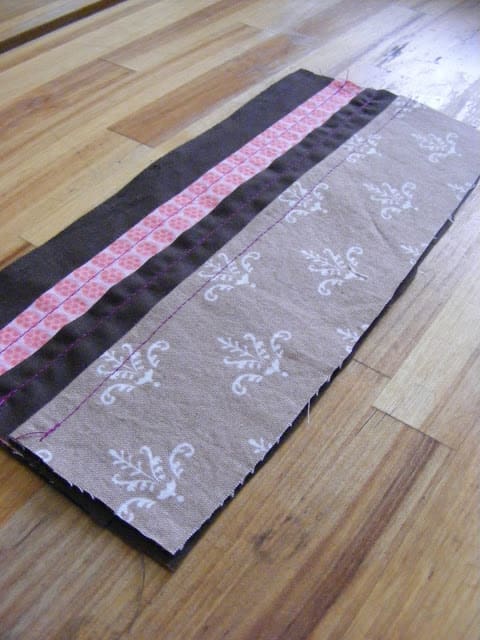
To make six zippered envelopes we will make three larger square pockets with zippers down each side so that when sewn into the wallet-like pages each “page” will make 2 envelopes.
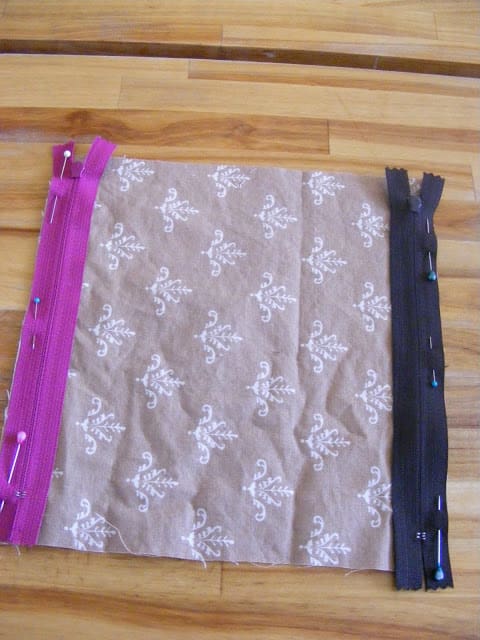
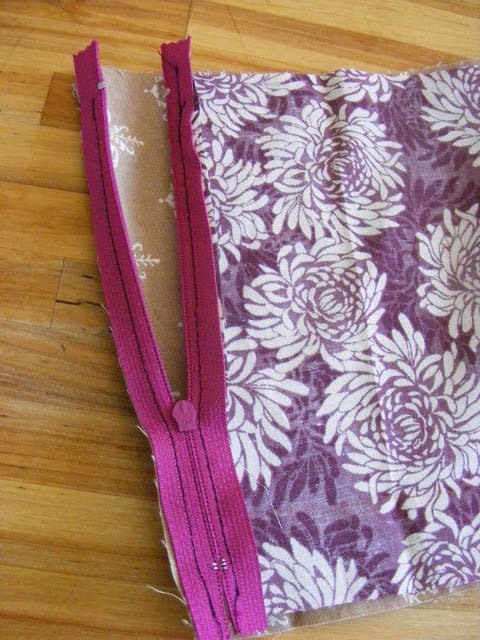
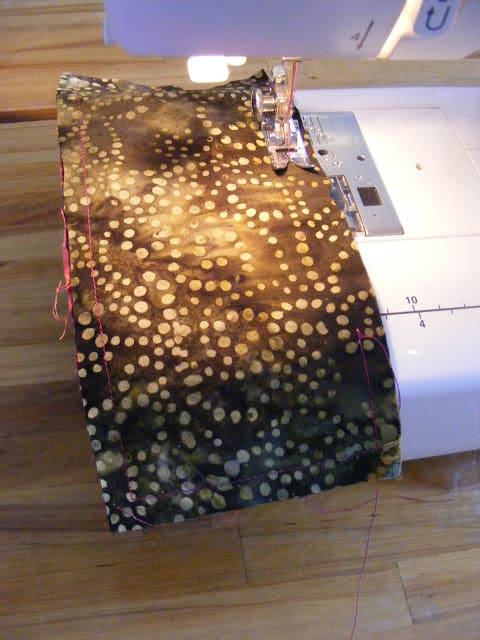
Start by cutting six 8×8″ squares of fabric. Sew one side of a zipper, face down on the printed side of the fabric, to one edge of the square. Repeat on the opposing edge with another zipper.
Now you’ll have something that looks like this.
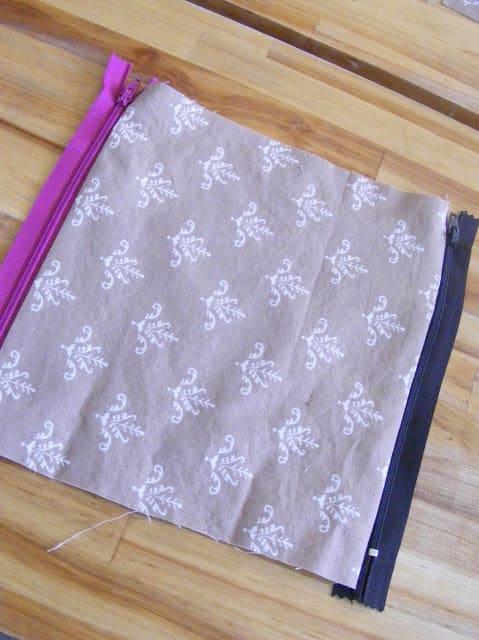
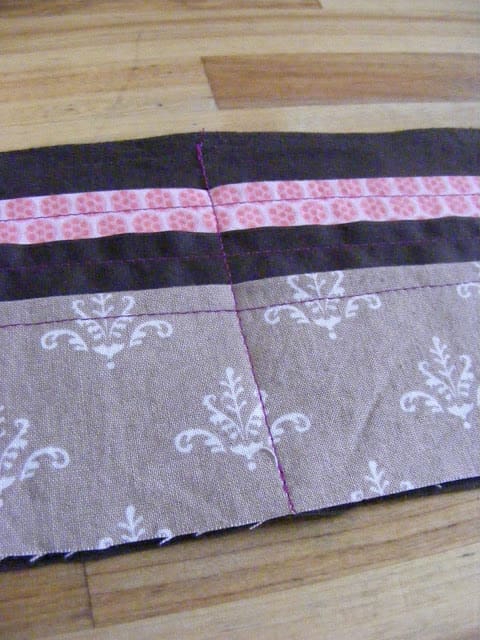
Place another one of the 8″x8″ squares face down and sew its edges to the other edge of each zipper, creating a sort of sleeve or tube or fabric and zippers.
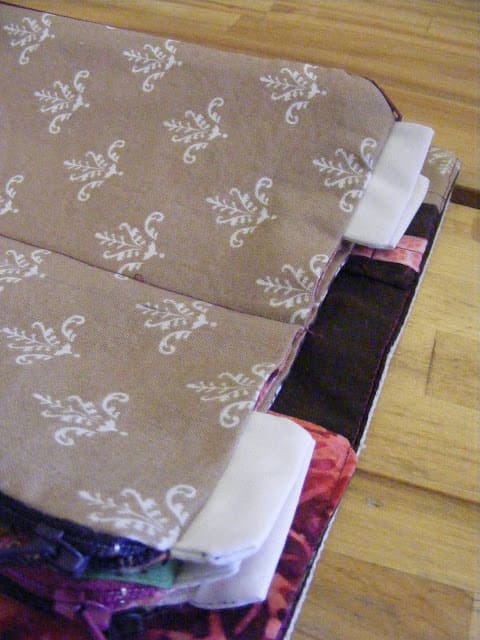
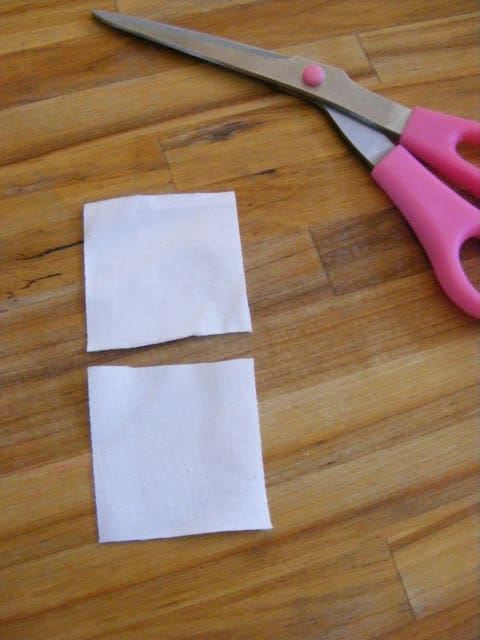
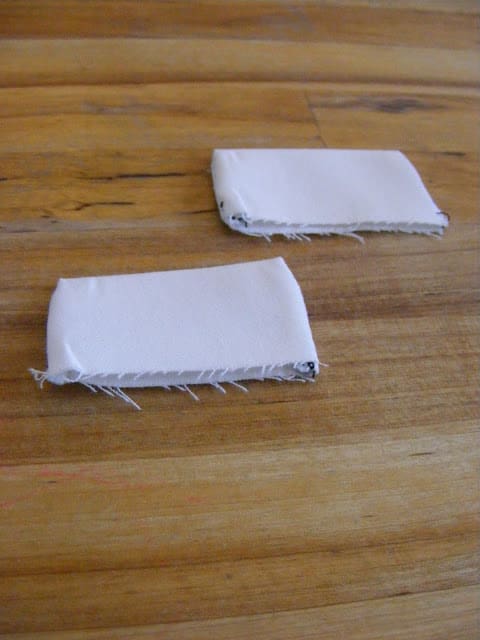
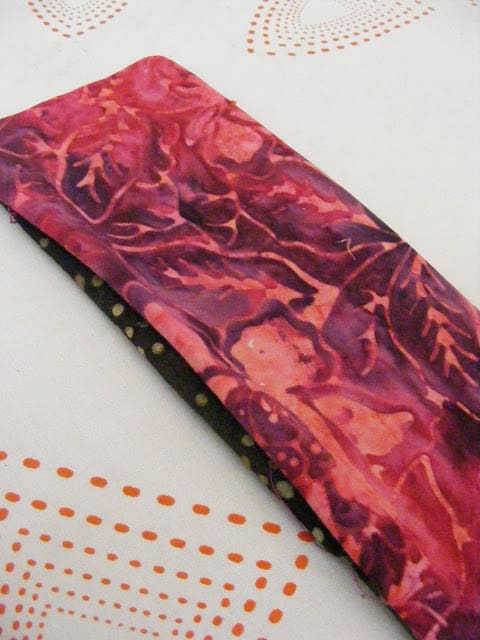
Now make your label tabs by cutting 6 2×2″ squares of white fabric. Fold each square in half and stitch up the sides.

Turn the tabs right side out so that you have something like this.
Pin two of the tabs with their raw edges facing out to the top edges of the zippered envelope.
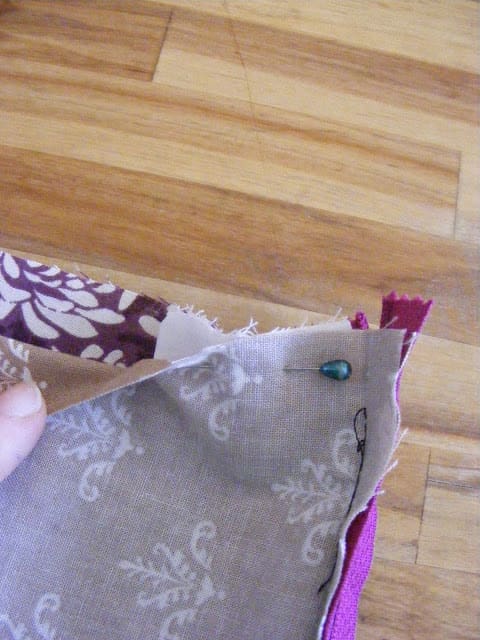

Then stitch along the two open edges of your 8-inch squares using a 3/8″ seam allowance. Make sure you leave the zippers open so you can turn the square right side out after sewing!
If all that made any sense you’ll have something that looks like this.
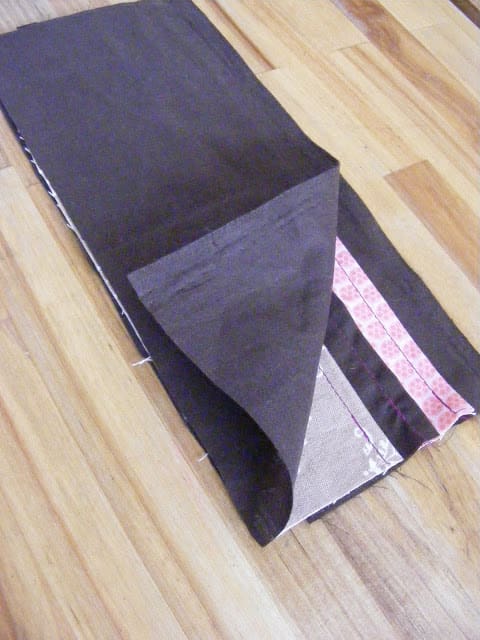
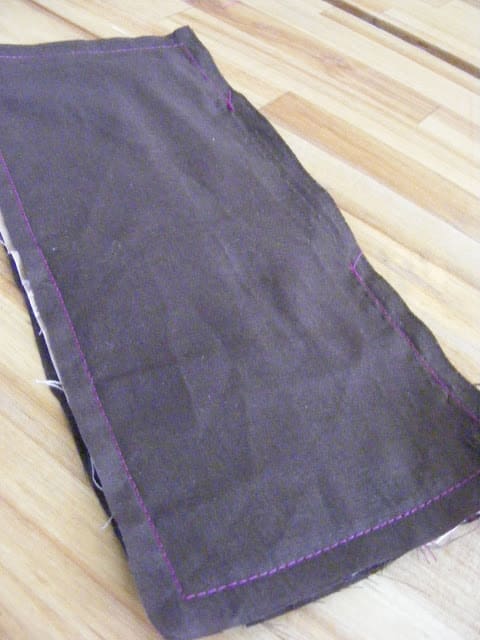
Repeat the process to make 2 more of these.
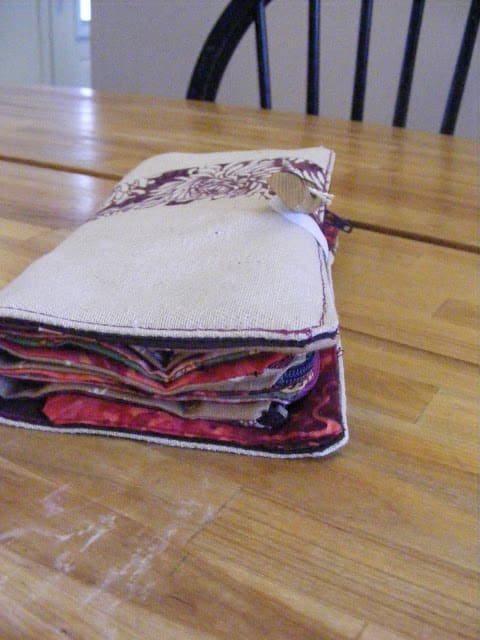
The Wallet Cover
The cover of the wallet is a much simpler process. Start with two 9×10″ squares of fabric.
Place them together, good sides facing in, and sew 3/8″ from the edge. Leave a section open on one side so you can turn it right side out.
Turn it right side out, iron it smooth, and top stitch all the way around, close to the edge.
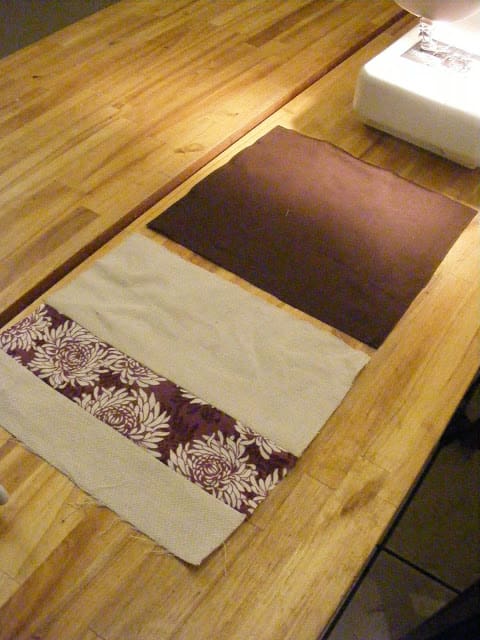
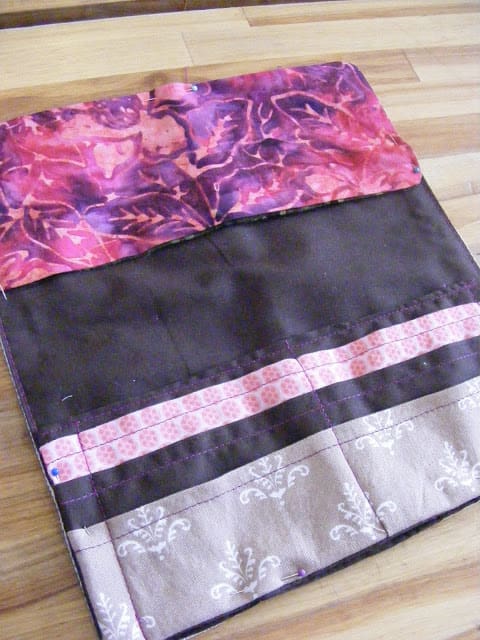
The Card Slots and Back Inside Pocket.
Cut seven 4×9″ strips of fabric.
Sew two of them together, right sides together, leaving part of one long side open so that you can turn it right side out. Use a 3/8″ seam allowance again.
Turn it right side out and iron it. Stitch the open spot closed. This will be a simple pocket on the inside back of the wallet. Put it aside for now.
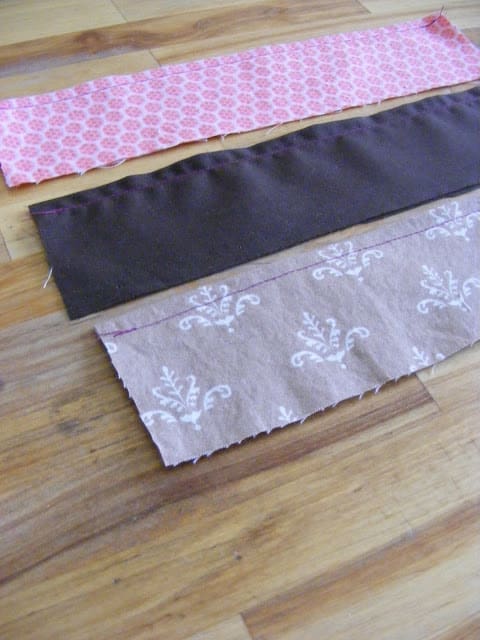
Take three of the 4×9″ strips and fold them in half lengthwise and press. Like this.
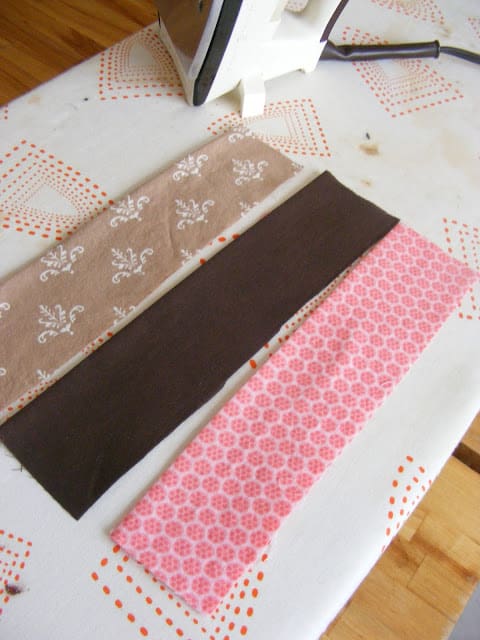
Top stitch along the folded edge of each strip.
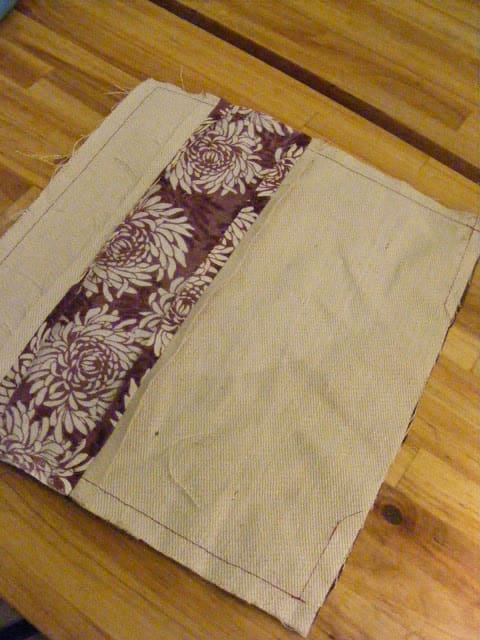
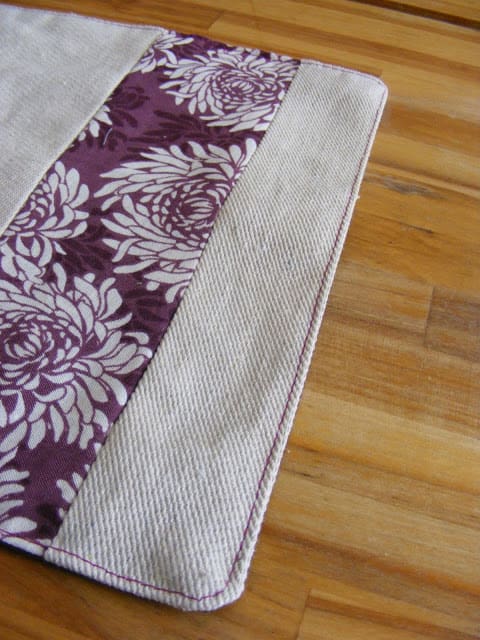
One of the remaining 4×9″ strips will be a backing piece for your card slots. Lay the backing piece down, printed side up, and lay the strips you just made on it, spacing them out like so. The bottom edge of the lowest strip should line up with the bottom edge of the backing piece underneath.
Pin and sew down the center.
Now pull back the strips and sew the bottoms of each strip to the backing piece one at a time. This will keep your debit cards from falling down too low in their pocket. I forgot this step the first time and had to rip out a ton of stitches and do it.

Take the last remaining 4×9″ strip and place it over the whole thing and sew it, leaving a space open so that you can turn it. Use a 3/8″ seam allowance again.
Turn right side out and press. Stitch the open spot closed.

Put a debit card in one of the slots on each side of the center line to measure how wide the slots need to be. Sew a line down each edge at the appropriate spot so that cards fit tightly enough that they don’t fall out.
Also Read:
Putting it All Together
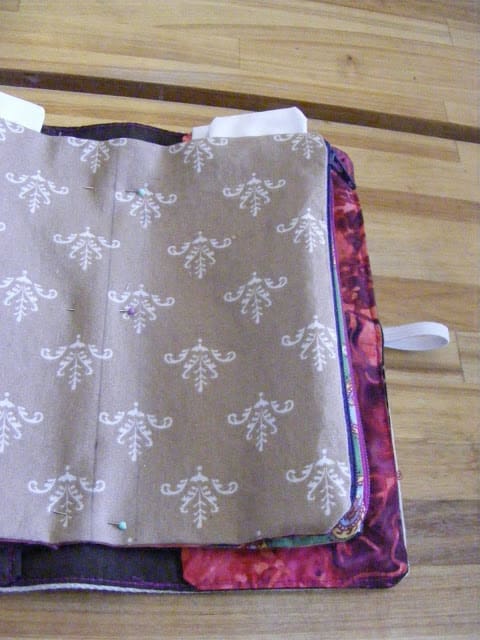
Okay…you’ve made all of the elements, all you have left to do is sew them together! Pin your card holder and your back pocket to the inside of the wallet cover, like this.
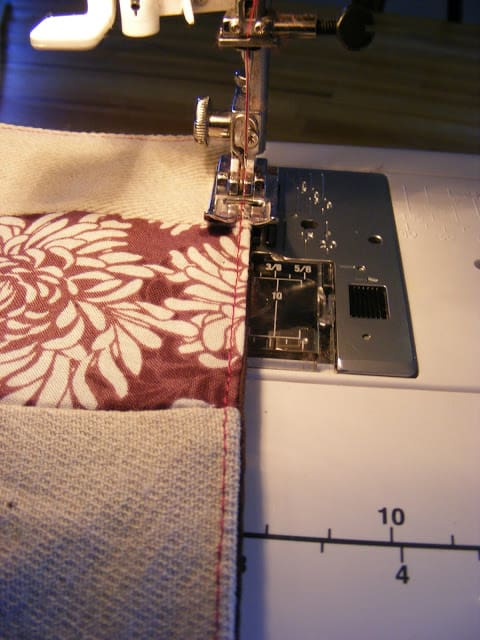
Then sew into place by stitching on top of the top stitching you made earlier when you made the wallet cover.
Slip a small loop of elastic in between the cover and the back pocket as you sew. This will be a part of the wallet closure.
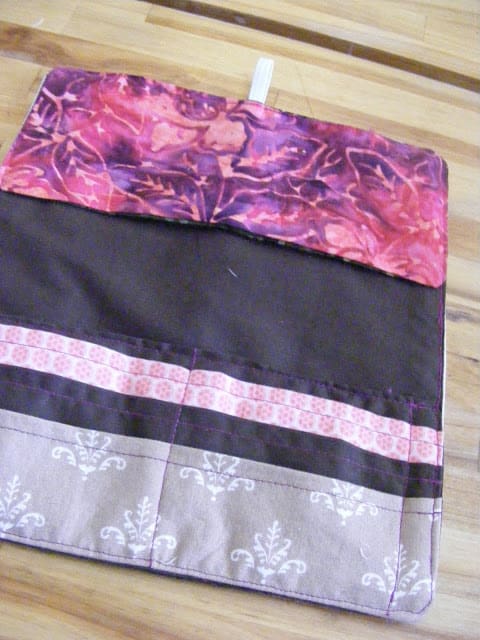
Stack the three envelope pieces you made earlier on top of each other and pin and sew down the center of the wallet cover, like pages in a book.
And add a big fabulous chunky button to the front for your elastic loop to hold on to.
There you go. One New Year’s resolution made pretty!
My friend doesn’t know I’ve made this for her, (unless she, you know, reads this blog post…) but I do hope she loves it!
Thanks so much for visiting The Complete Guide to Imperfect Homemaking.