Canvas on a Budget: Simple and Thrifty DIY Art Projects
I like the idea of shopping for art. But finding art for a specific spot in a home is hard, isn’t it? I want something that is the right size, incorporates the right colors, and is affordable. Oh, and I want it to make my heart sing if that’s not too much trouble.
So basically all my art shopping expeditions end up one of two ways:
a) I come home empty-handed and disappointed.
or
b) I come home with a mirror.
So when the local shops left me disappointed and toting a new mirror once again, I decided to make my wall art for my master bedroom.
I am very pleased with the results, and the price tag!
My 2 Simple and Thrifty DIY Art Projects
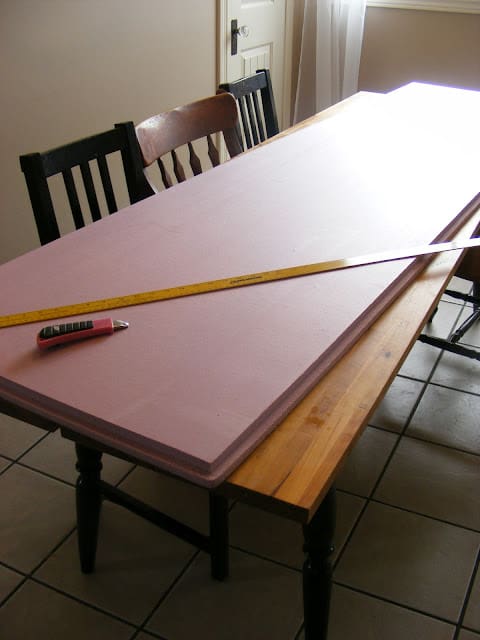
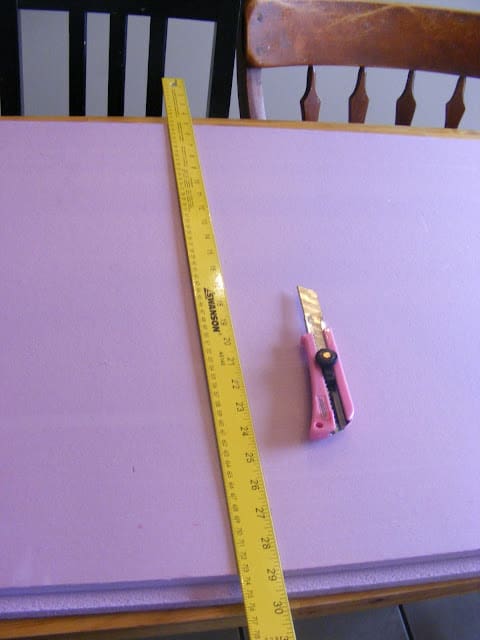
I started with a sheet of one-inch thick styrofoam insulation. This stuff is denser and less crumbly than regular packing styrofoam and will hold up better under abuse with a staple gun. A 2-foot by 8-foot sheet costs about 15 dollars and will be enough for several wall hangings. If you need a few pieces of art and already have some craft supplies and fabric lying around, this is cheaper than buying canvases.
Cheap-O art project design #1
To cut the styrofoam you will want to use a straight edge and a sharp utility knife.
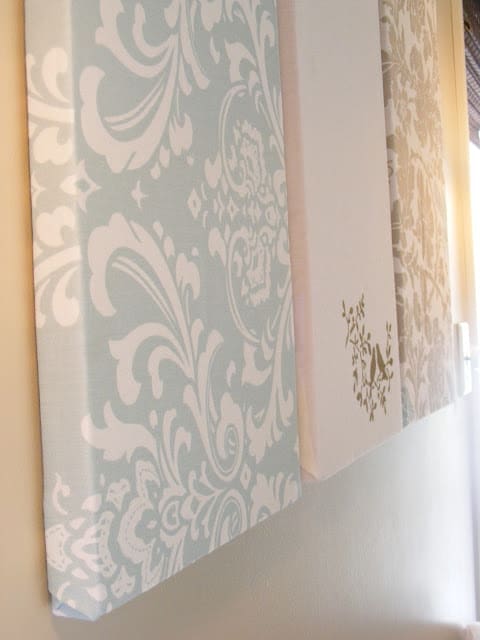
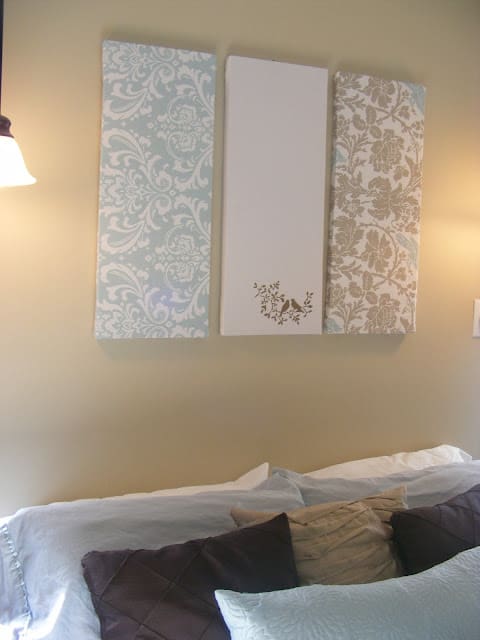
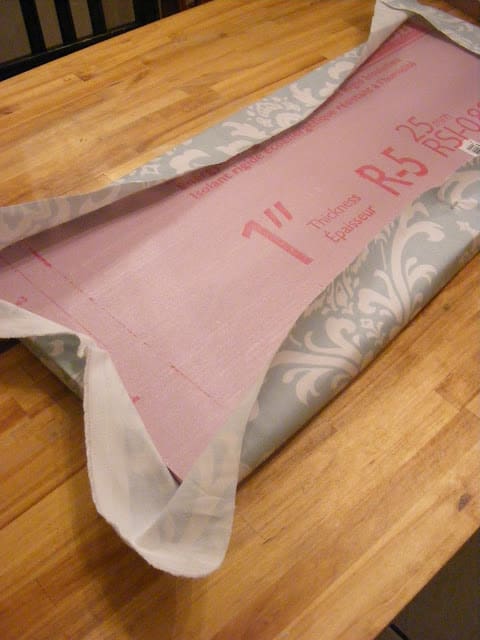
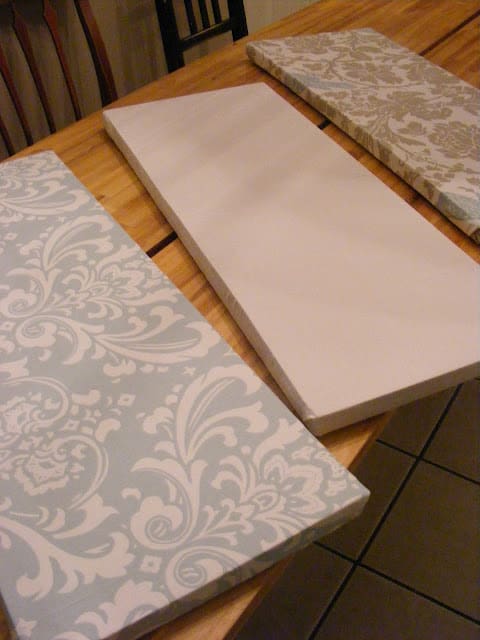
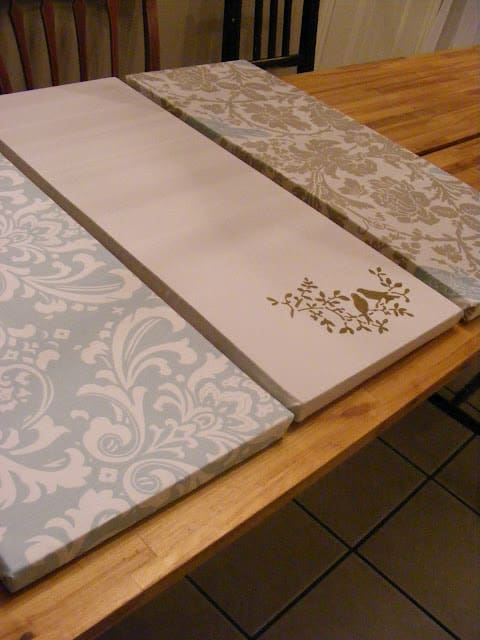
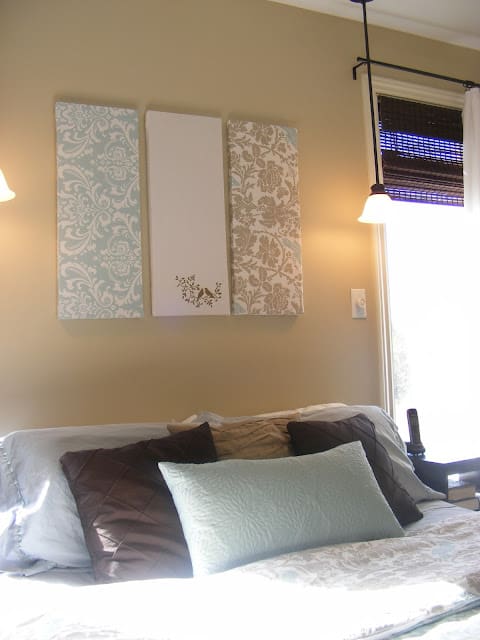
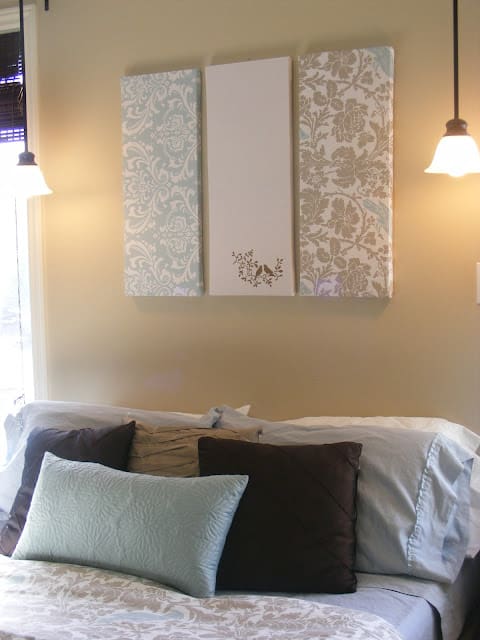
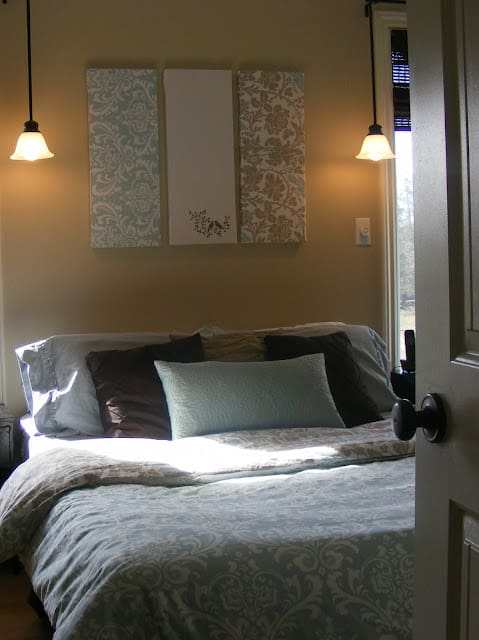
I cut three 11-inch by 28-inch panels and covered them with leftover fabric from a duvet cover I recently made.

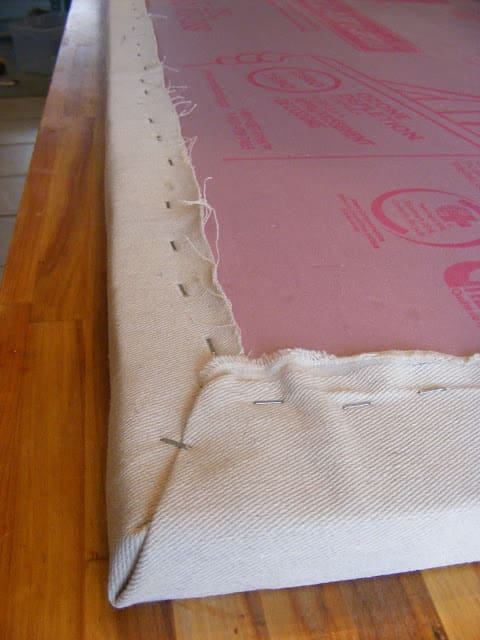
First I stapled the fabric tightly to the center of each edge.
And then I folded the corners as if I was wrapping a gift and stapled them.
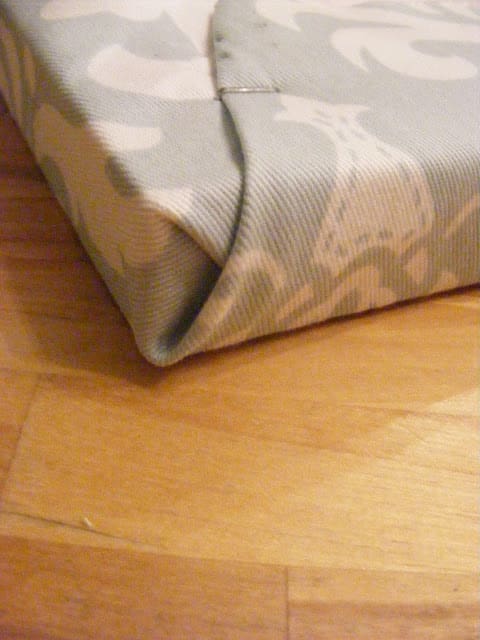
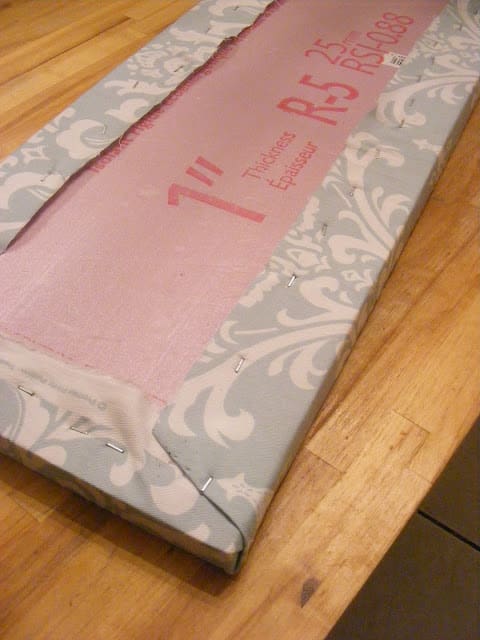
Then I added more staples along each edge, pulling the fabric tight as I went.
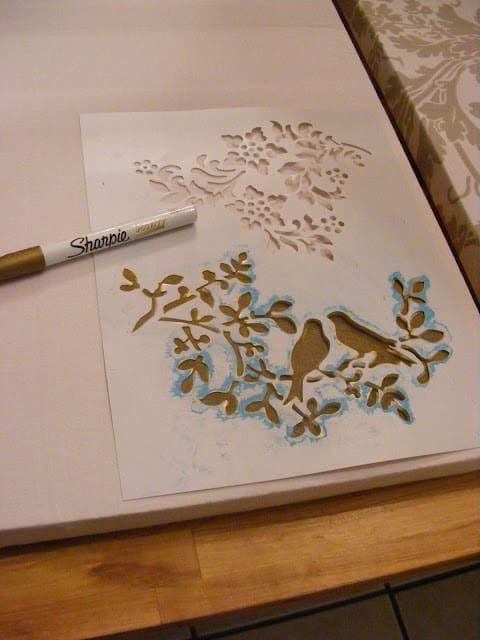
I used a Dollar Store stencil and a Sharpie paint pen to gussy up one of the panels.
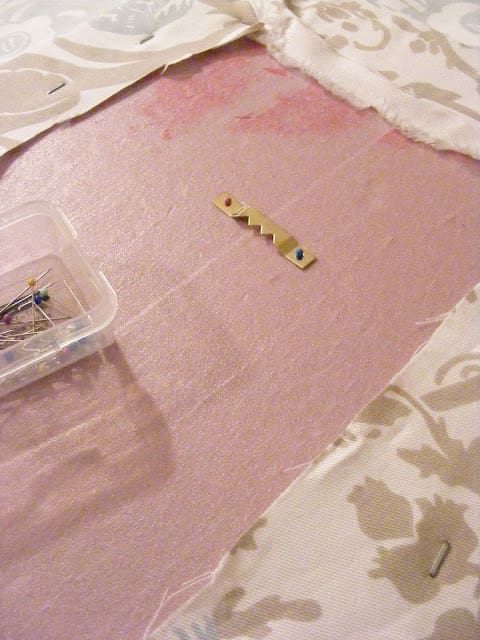
I hung the panels by attaching some picture-hanging hardware to the back with long sewing pins.
So far they haven’t fallen on my head.
Recommended Reading:
- How to Make DIY Valentine’s Blessing Jars
- How to Transform Old Crayons into Craft Pieces
- Simple DIY Elephant Mobiles
Cheap-O art project design #2
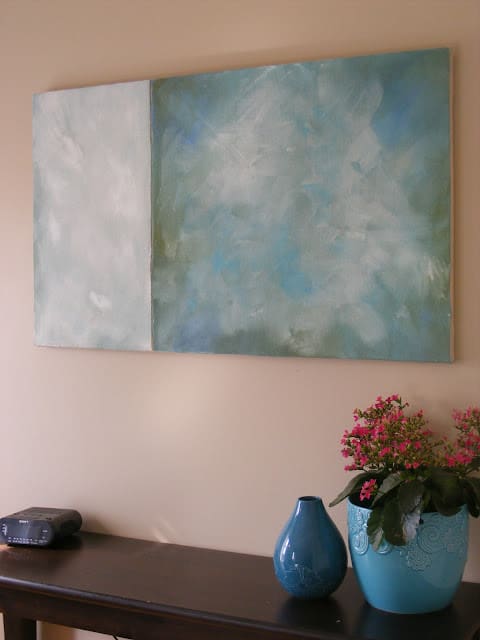
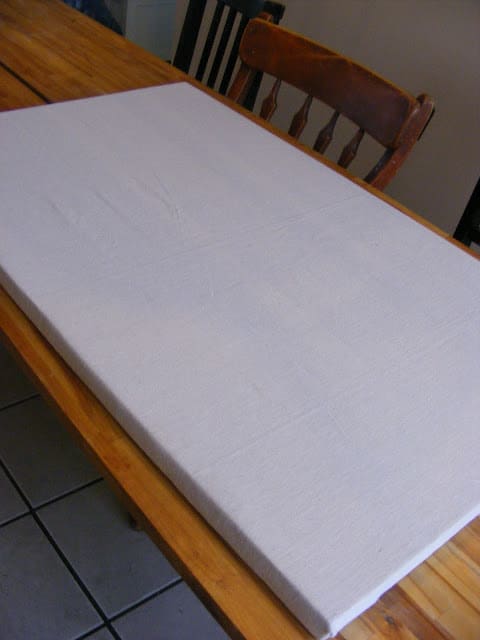
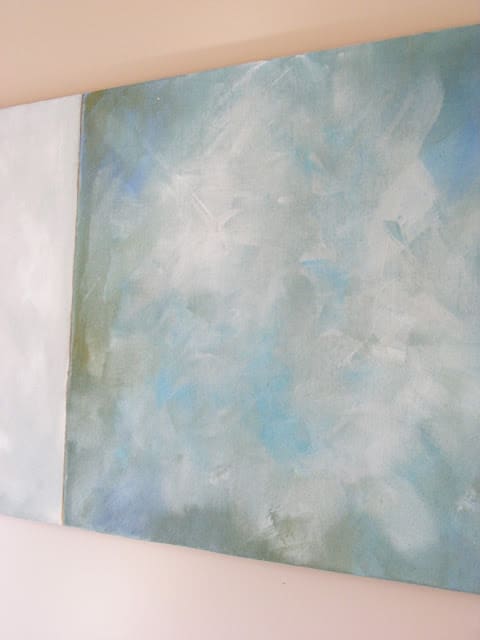
I cut a large piece of styrofoam and wrapped it in some canvas drop cloth left over from this project.
I used various paints I already had to paint the canvas. A combination of wall paint, craft paint, and oil paint gives the painting some dimension.
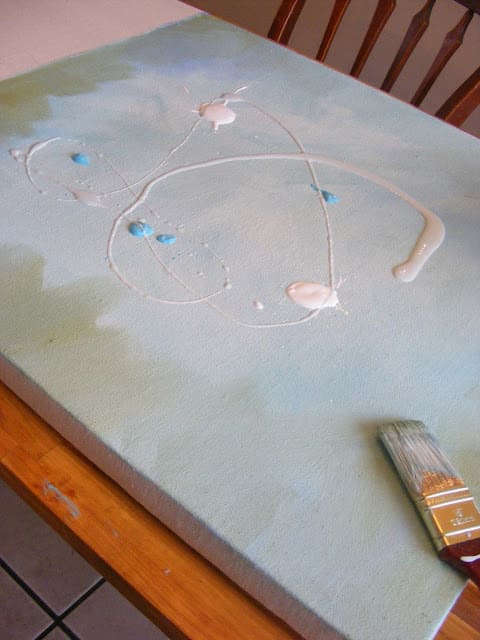
I had a lot of fun with this part and made a point not to obsess over it too much. I used brush strokes in every direction and tried to create something that pleased my eye.
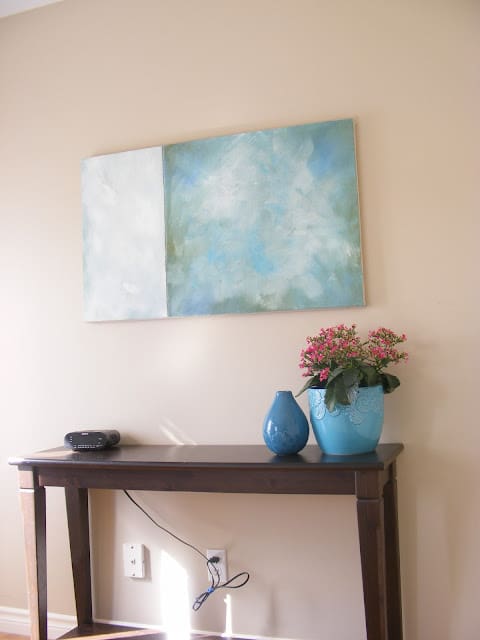
Since I used things I already had around the house, both art projects cost me a total of 15 dollars for the styrofoam, and I even have a piece left over for another project!
Go ahead, and create some simple, thrifty, happy art for your walls! I’d love to hear how it turns out!
Thanks for visiting The Complete Guide to Imperfect Homemaking!