How to Apply Contact Paper to Drawers, Cabinets and Countertops
Using contact paper to update your drawers is such a cool DIY project! It’s like taking an old dresser and giving it a facelift, or adding your style to the inside of brand-new cabinets. Slapping some of that adhesive liner stuff in your drawers isn’t only fun, but it also allows you to express your creative side.
But wait – it’s not just about looks. It’s also about protecting your furniture so it stays in great form for years. Now, it’s time to roll up your sleeves and jump in on this fun makeover mission!
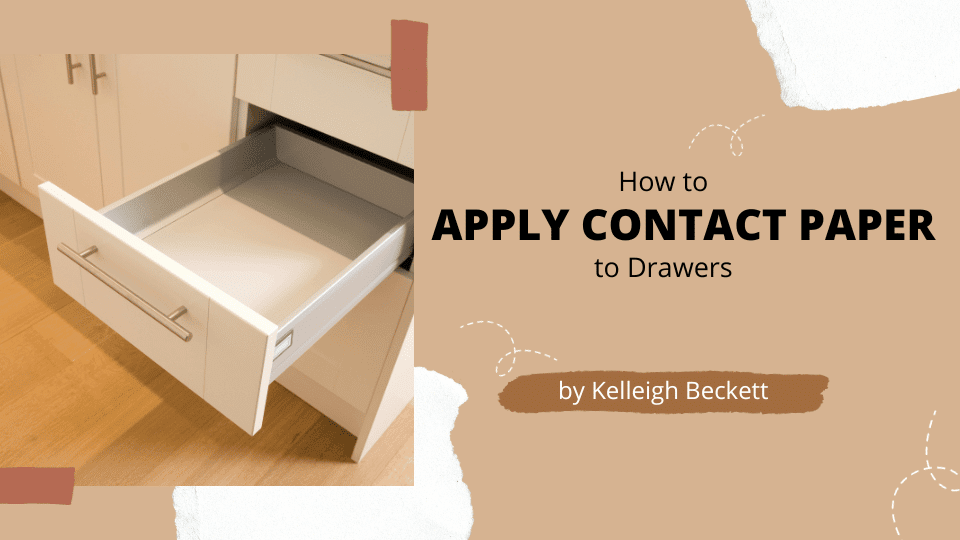
Table of Contents
Understanding the Magic of Contact Paper
First things first, what is contact paper? It’s essentially adhesive material. A popular choice among interior DIY enthusiasts. It comes in a host of patterns and textures, from trendy marble to cute polka dots, and will don next to nothing to jazz up your space.
Things Needed Before You Begin to Apply Contact Paper to Drawers
Before we begin with our drawer makeover, let’s make sure you have everything you need:
- Contact Paper: Pick a style that sings to your heart. Remember, this is your chance to express yourself!
- Scissors: Sharp ones, for clean cuts.
- Measuring Tape: Precision is key.
- Smoothing Tool: This could be a simple plastic card or a professional squeegee.
- Cutter: For those intricate corners and edges.
How to Apply Contact Paper to Drawers in 5 Easy Steps
Applying contact paper can be a tricky and frustrating project for some folks. Below are the steps that you need to follow to apply contact paper to your drawers and cabinets successfully.
1. Prep Work: The Foundation of Success
Your first task? Preparing the drawers. Clean them thoroughly, removing every speck of dust and grease.
This step is crucial for ensuring the contact paper sticks smoothly and lasts long.
2. Measure Twice, Cut Once
Measure the inside of each drawer with care.
Transferring these dimensions correctly to the contact paper is essential for a perfect fit. When cutting, leave a little margin for those just-in-case moments.
3. Mastering the Craft
This is where the fun begins. Slowly apply the paper to your surface starting from one corner and work across.
Avoid wrinkles and bubbles. Use your smoothing tool to force out any bubbles as go. Take your time with your corners and edges, using your craft knife to achieve a neat finish to your project.
4. The saying ‘The devil is in the detail’
Once your paper is in place, go back over your project with the smoothing tool.
This will make sure you have a strong bond and an ultra-sleek finish to your project.
These finishing touches can make all the difference whether your project will be a success or not.
5. Caring for Your Masterpiece
Now that your drawers look stunning, let’s keep them that way.
Handle them gently and clean regularly to keep the contact paper in tip-top condition.
And remember, you can always switch things up! Contact paper is all about flexibility and fun, so feel free to experiment with different designs and patterns.
Conclusion: How to Install Decorative Paper in Drawers
This concludes our humble guide on transforming simple drawers into statement drawers with drawer liners or contact paper. It is a fun and simple project that you can take pride in because it turns out amazing and is highly functional.
Every time you open one of your funky, rad drawers, it will remind you of how much time and effort you put into making your space unique. Happy DIY-ing! Don’t forget to follow me on Pinterest.